If you must store your RV for the winter and don’t have ‘inside storage’ … there are some important steps to take to make sure your buddy is ready to go next spring/summer.
- The first thing we do is to winterize the water lines. This means pumping out all the
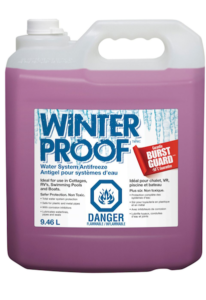 fresh water in the grey tanks, emptying the black tank – and then pumping in antifreeze. You must use proper anti-freeze and not the one you throw into your car windshield washer fluid! This is the one we use … easily available at Canadian Tire (here in Canada) and fairly inexpensive. Once your water is drained, it’s an easy task to use your water pump to pump the liquid thru all water lines. And don’t forget the hot water tank!
 - Next you’ll want to throw in some fuel stabilizer into the gas tank and run it through the generator as well. This will keep any gas left in the unit from going ‘bad’ and possibly not starting next year. Not fun!
- We then disconnect the batteries. We do have a solar panel on our roof, but since we cover our unit … that doesn’t really work. If you don’t disconnect them … they will be dead in the spring!
- Once that’s done, you really should put a moisture removal system into the unit. If
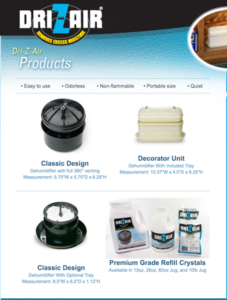 you have power available, there are fans you can buy from marine supply shops (and other places I’m sure) that will keep the air circulating which helps keep moisture (and thereby mold) from accumulating in the wet winter months. If you don’t have access to power you can use products that absorb moisture from the air such as Dri Z Air. We found the cheapest place to buy it is at Wal Mart. (Just a word of warning tho … if you use this you MUST empty out the reservoir occassionally. We didn’t last year and the liquid in the reservoir spilled over into our kitchen sink and stained it badly!) It will also help to leave at least one of your ceiling vents open slightly – if you have a cover on it that is!
 - Remember to leave your fridge and freezer doors open slightly … if you don’t be prepared for lots of mold/mildew and VERY bad smells in the spring!
- We also buy a box of the most ‘smelly’ fabric softener sheets we can find and distribute the sheets throughout the RV … it seems to keep the rodents out. As we’re parked in a field this is important! (Obviously you should NOT leave any food items inside while the unit is stored!)
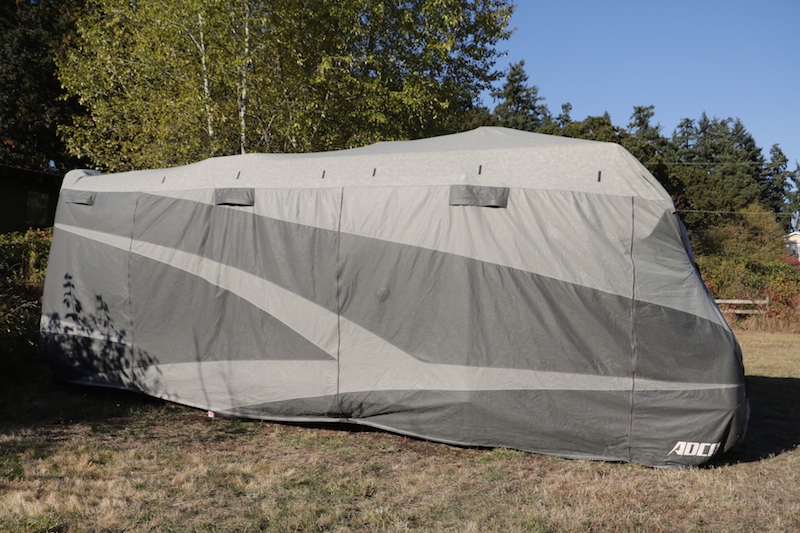
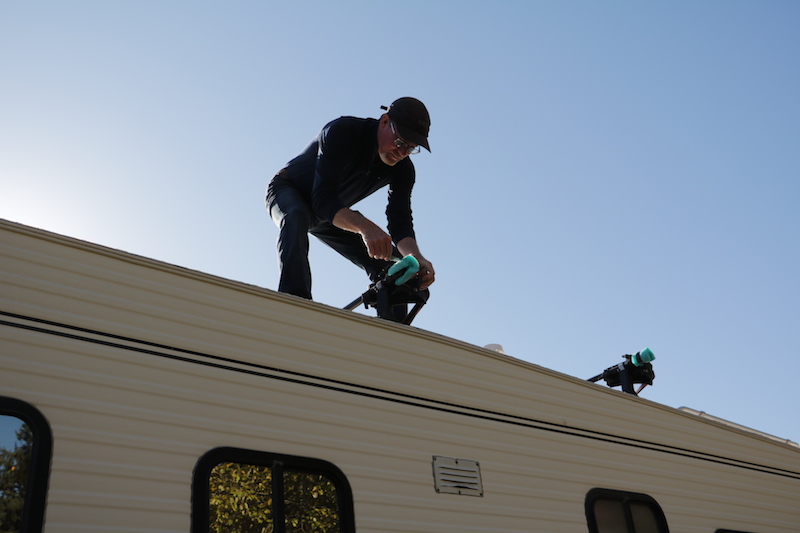
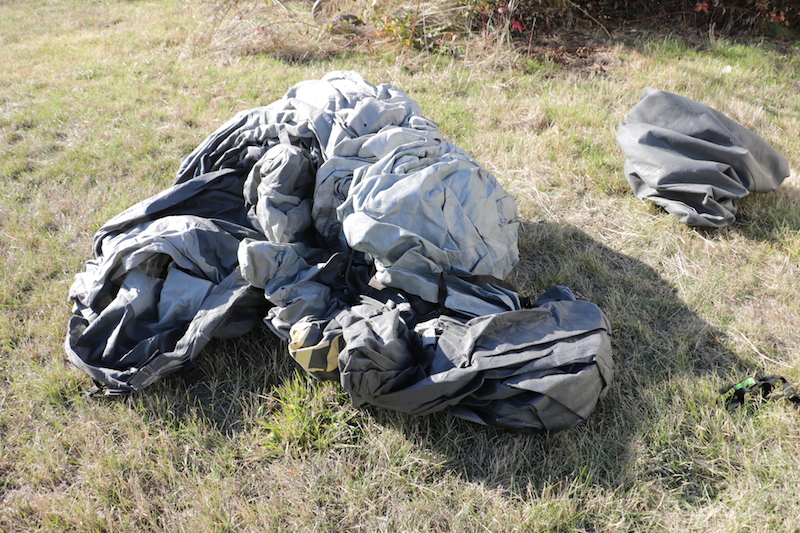
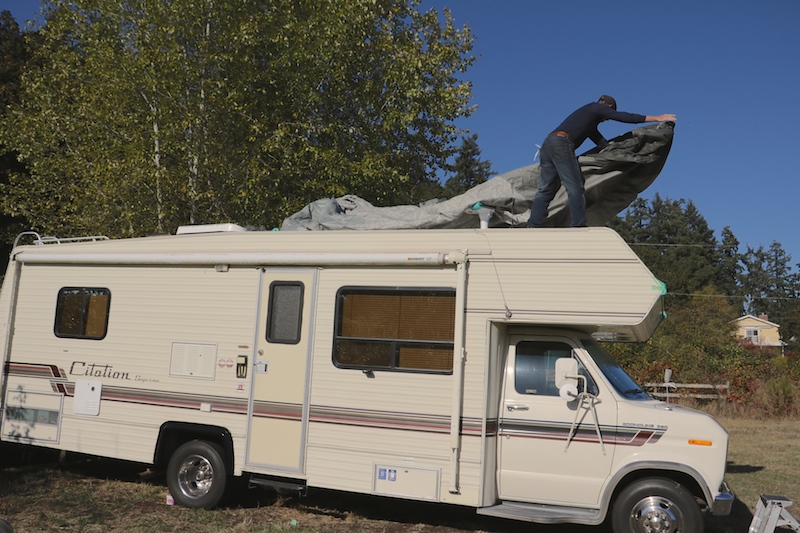
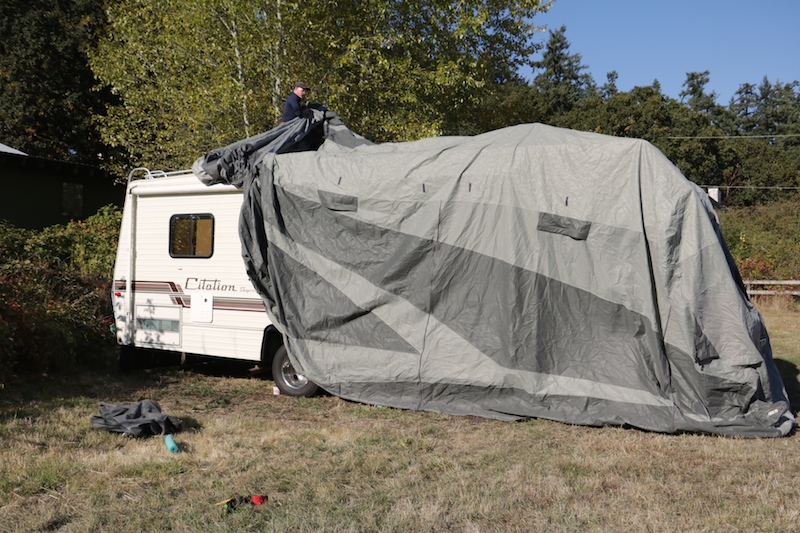
Now comes time for the cover! When we first got our RV several years ago we didn’t cover it and when the time came for our first trip it was a mess! Lots of scrubbing to get off all the dirt and mold from the winter weather. We purchased a cover on-line and it was not cheap … but as it’s a one-time purchase it was well worth it. Ours is an Adco RV Cover and was purchased from Camping World. There are sizes to fit all RV’s … motorhomes as well as trailers. It’s a bit tricky to use and definitely a 2-person job! Try for a sunny day with no wind! Here’s pictures of this years’ cover up!
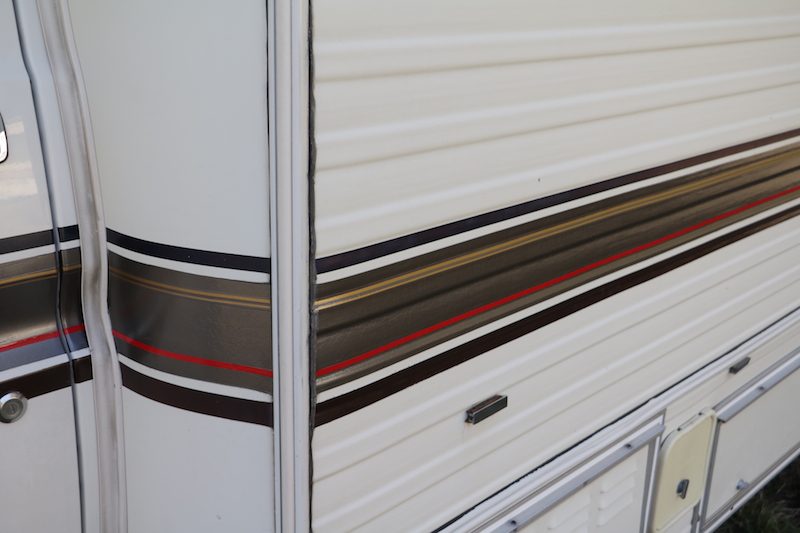
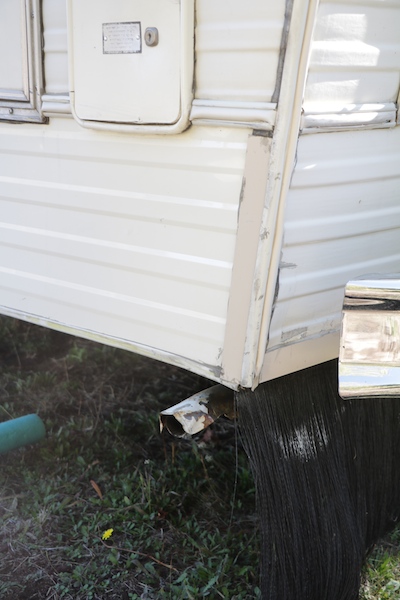
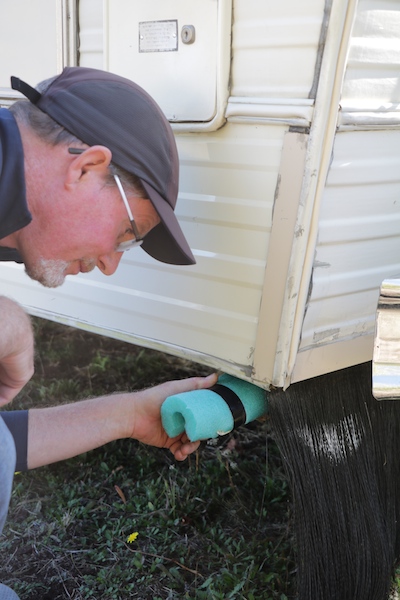
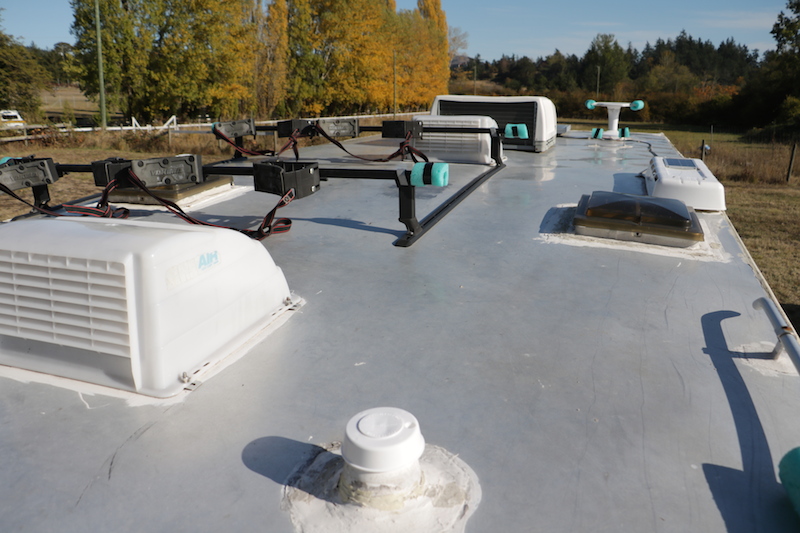
You’ll first want to check the entire rig over for possible wear/tear spots. It’s probably going to be windy while it’s covered and it WILL have holes worn through by springtime if you’re not careful. We thought we were being careful … but every year we seem to find more problem spots. Luckily the cover comes with a lot of patch material! Bruce found an old discarded pool noodle at one of our campsites this year and it was the perfect thing for using as padding!
Until next year …

Leave A Comment